Introduction
Recently there has been a big shift away from the well known GUI interface that comes with the standard Windows Server products and more focus has been put on building infrastructure that does a single task with very little overhead.
Because of this trend I thought it would be best to look into the process required to setup a Domain entirely on Server Core. I’m also in the process of setting up a test lab for my office; so I thought it would be nice to document my interpretation and execution of a some-what best practice environment.
We will cover the following:
- Installing Server Core (Server 2012 R2 specifically)
- Renaming Server with PowerShell
- Setting IP and DNS Addresses with PowerShell
- Installing the Active Directory Domain Services role with PowerShell
- Domain Services / General Server Management
Install Server Core
I’ve opted to use Windows Server 2012 R2 Evaluation for this installation, making sure to select Server Core and not the full standard install with a GUI.
When you first login you’ll be greeted with a very bland command prompt sporting a blinking cursor. I know it seems daunting but stick with it; you’ll find you learn a lot more when you’re given less.
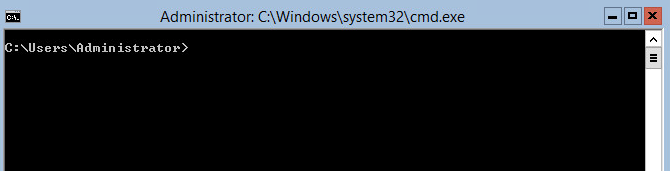
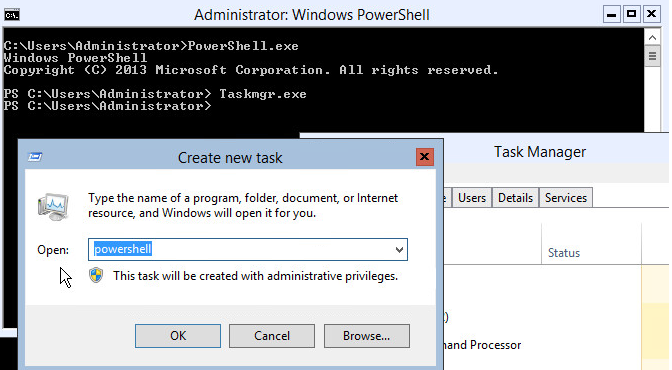
The default command prompt won’t be enough for what we want to do, so go ahead and fire up PowerShell by simple running:
PowerShell.exeYou should see a small PS show up before the working directory now, this indicates that you’re working with the PowerShell…shell…. shruggs

If you’re like me and hate the look/feel of the windows console, you can run taskmgr.exe and then File > Create new Task and open powershell
Renaming the Server
Our first task will be to rename the server. We’ll be using a simple PowerShell cmdlet for this:
Rename-Computer -NewName PC-Name-Here
Now let’s restart the server to apply those changes. You can do this through PowerShell as well! (starting to see why it’s awesome?)
Restart-Computer –ForceOnce you boot back in, fire up PowerShell and confirm the PC name changes went through with the following:
$env:COMPUTERNAME
Set the IP and DNS Addresses
Now that the name is all setup lets have a crack at setting the IP and DNS Addresses with PowerShell. Before we jump in, run the following cmdlet to generate a list of network adapter interfaces currently registered with your system.
Get-NetAdapterNOTE If you are running this lab in ESXi or VMware then you’ll need to install VMware tools on the server before PowerShell will be able to query the Adapter information. This can be done by mounting the tools in the DVD/CD drive as usual, changing to the tools directory (cd D:\) and then running the following:
.\setup.exe
Take note of the ifIndex value, in our case it’s 12. This will be the interface number we reference when making changes to the IP and DNS Address settings
The two cmdlets we’ll be using to make the IP changes are New-NetIPAddress and Set-DNSClientServerAddress. My plan is to have the IP Settings to be the following:
IP Address: 192.168.0.200
Subnet Mask: 255.255.255.0
Gateway: 192.168.0.1
DNS Server: 192.168.0.200 (itself)
I achieve this with the following two commands:
New-NetIPAddress -InterfaceIndex 12 -IPAddress 192.168.0.200 -PrefixLength 24 -DefaultGateway 192.168.0.1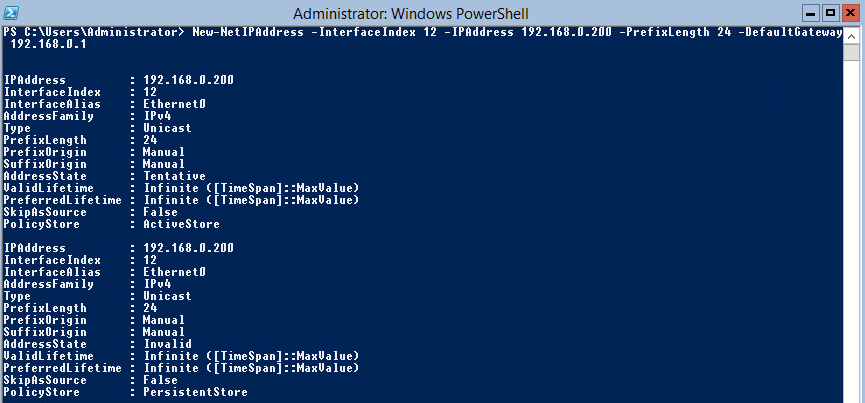
Set-DNSClientServerAddress -InterfaceIndex 12 -ServerAddresses 192.168.0.200
Install the Active Directory Domain Services role
Next we install the AD DS Role onto the server. This is done using the Install-WindowsFeature cmdlet.
Install-WindowsFeature -Name AD-Domain-Services
Promote the server to a Domain Controller
Promoting the server to a domain controller can be done in a single line; granted it is a very long line… but still pretty impressive.
Below is the full script we’re going to run in order to setup the CONTOSO domain.
$Password = ConvertTo-SecureString -AsPlainText -String PASSWORDHERE -Force
Install-ADDSForest -DomainName contoso.com -SafeModeAdministratorPassword $Password `
-DomainNetbiosName CONTOSO -DomainMode Win2012R2 -ForestMode Win2012R2 -DatabasePath "%SYSTEMROOT%\NTDS" `
-LogPath "%SYSTEMROOT%\NTDS" -SysvolPath "%SYSTEMROOT%\SYSVOL" -NoRebootOnCompletion -InstallDns -Force
I’ll explain each part before we execute it
$Password = ConvertTo-SecureString -AsPlainText -String PASSWORDHERE -Force, -SafeModeAdministratorPassword $Password `During the installation we need to provide a Safe Mode Administrator Password and unfortunately it isn’t as easy as just passing the install instructions a normal string.
The -SafeModeAdministratorPassword cmdlet requires a SecureString which we are able to create using the ConvertTo-SecureString cmdlet.
The Generated secure string is stored in a $Password variable and then referenced later in our main scripts body. Be sure to also change the -String PASSWORDHERE to include your desired password.
Install-ADDSForest -DomainName contoso.comAt this point we need to specify the domain name so we can create the Domain Forest. I’m using contoso.com but feel free to use what you want.
-DomainNetbiosName CONTOSO -DomainMode Win2012R2 -ForestMode Win2012R2Here we specify the NetBiosName and the domain functioning level. I’m just using the version of server we’re building this lab on but your situation might be different.
-NoRebootOnCompletion -InstallDns -ForceThe final important part are -NoRebootOnCompletion which does exactly what it says it will do; -InstallDns which will also install the DNS Role on this server and -Force which will unconditionally try to complete all tasks.
Executing the full script should result in similar outputs displays below.

Let’s reboot the server and see if it worked!
Restart-Computer -Force
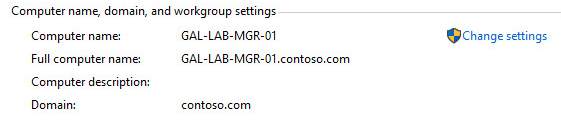
Awesome! Now join a client to the new domain and confirm everything works as expected. Below is an example of my management client after successfully joining my contoso.com domain.
Domain Management
Just because you don’t have a GUI doesn’t mean you can’t effectively manage your Active directory suite, in fact it’s pretty damn easy to get what you need done with one of two methods.
- Remote Server Administration Tools (RSAT)
- PowerShell
RSAT Management
You can install the Remote Server Administration Tools from the following link.
https://www.microsoft.com/en-us/download/details.aspx?id=45520
For Active directory management I would recommend using the Active Directory Administrative Center which can be found under Administrative Tools. It gives you a lot of control over all the various components of Active Directory and also provides a nice interface.
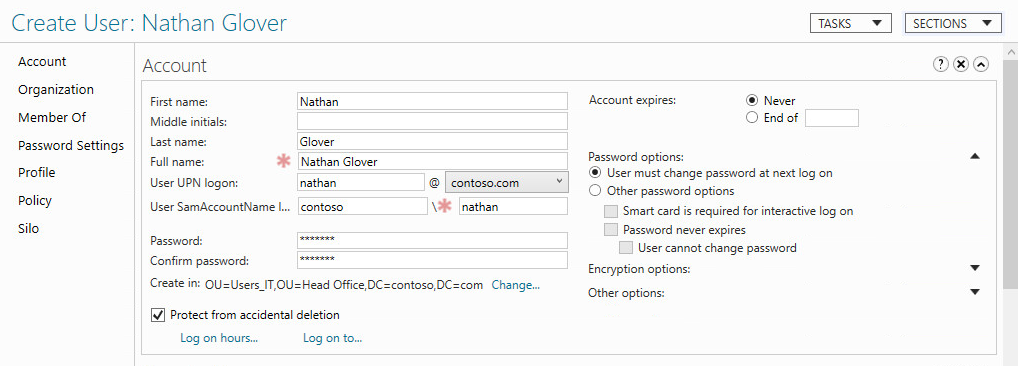
PowerShell
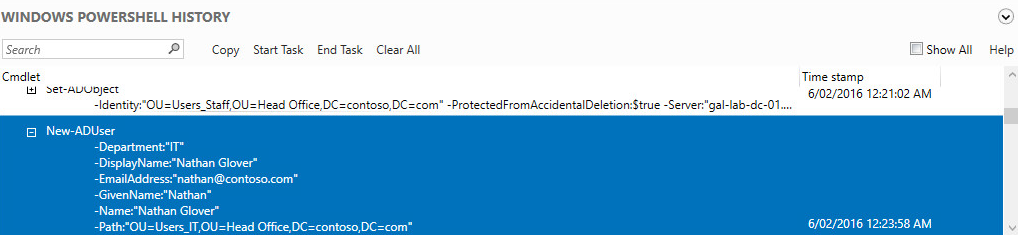
You will also notice that when you commit changes, a PowerShell history entry is created along the bottom of the page. This gives you an idea of some of the various commands you can use to perform the same operations you just made with the GUI.
Conclusion
Overall I can see the appeal in Core; It isn’t really that much more difficult to manage than Server Standard, plus you save resources by not including anything you don’t absolutely need.
Another great reason to switch to it is you’re forced to learn a bit of PowerShell; which is great fun when you get the hang of it.