Introduction
Anyone who knows me knows that recently I’ve gotten a little bit too attached to a particular distribution called Manjaro Linux. So when I heard that an ARM version was released and would work on my Raspberry Pi 2 I got pretty excited!
In this tutorial I go through the steps required to setup the Manjaro Full ARM release, but the same steps can be followed for installation of the headless/minimal version.
These instructions are pretty heavily copied from this official post, but I thought I would put my own spin on it and add some screenshots to make it easier to follow.
What you’ll need:
- MicroSD Card should be at least 4GB and a class 4 or better.
- Copy of the latest build found here.
- A distribution with access to various partitioning tools
Preparing Environment
Open up a terminal and navigate to your HOME directory. From there create two folder; root and boot
$ cd ~
$ mkdir root
$ mkdir boot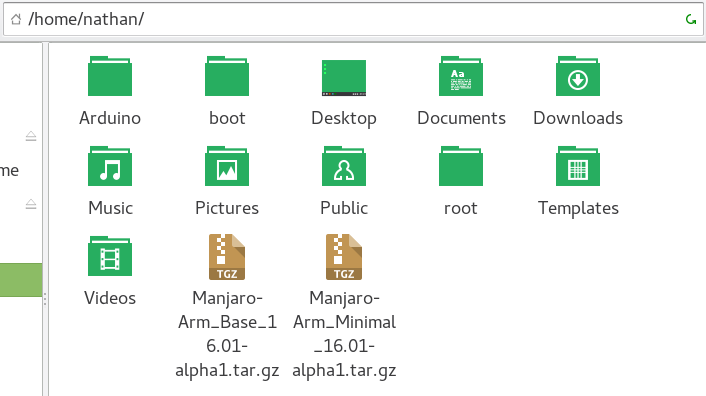
You’ll also notice I have copies of both the tar.gz builds. I’ll only be using Manjaro-Arm_Base_16.01-alpha1.tar.gz from this point on.
Making the Partitions
Insert the MicroSD card into an adapter on your Linux computer and run lsblk to see if the device is registered. You will get an output similar to the following.

In my case the MicroSD is registered as sdc and has existing partitions on it already (probably an old rasbian image). You might have slightly different device names; so expect something like mmcblk1. Note down the name of the registered device, you’ll need it for the next part.
Now that we have found the device name, its time to setup the two partitions that the MicroSD card needs:
- /boot
- /root
The following commands need to be run as root (not using sudo) so go ahead and elevate your privileges (be care from this point on!).
$ sudo su
Now run our disk partitioning tool fdisk
# fdisk /dev/sdc
  (replace sdc with your devices registered name)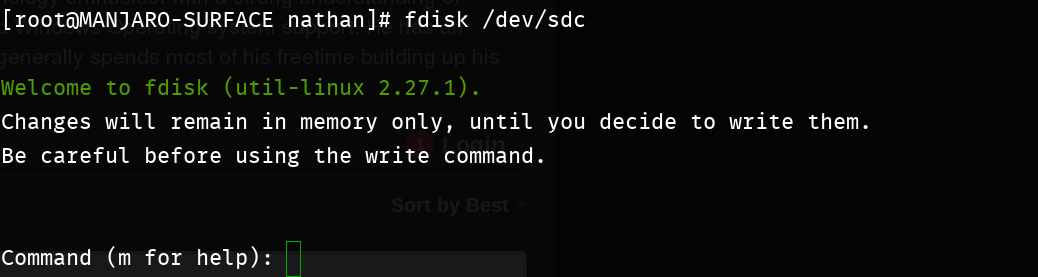
You’ll be greeted with an input cursor. Carefully run the following commands in order.
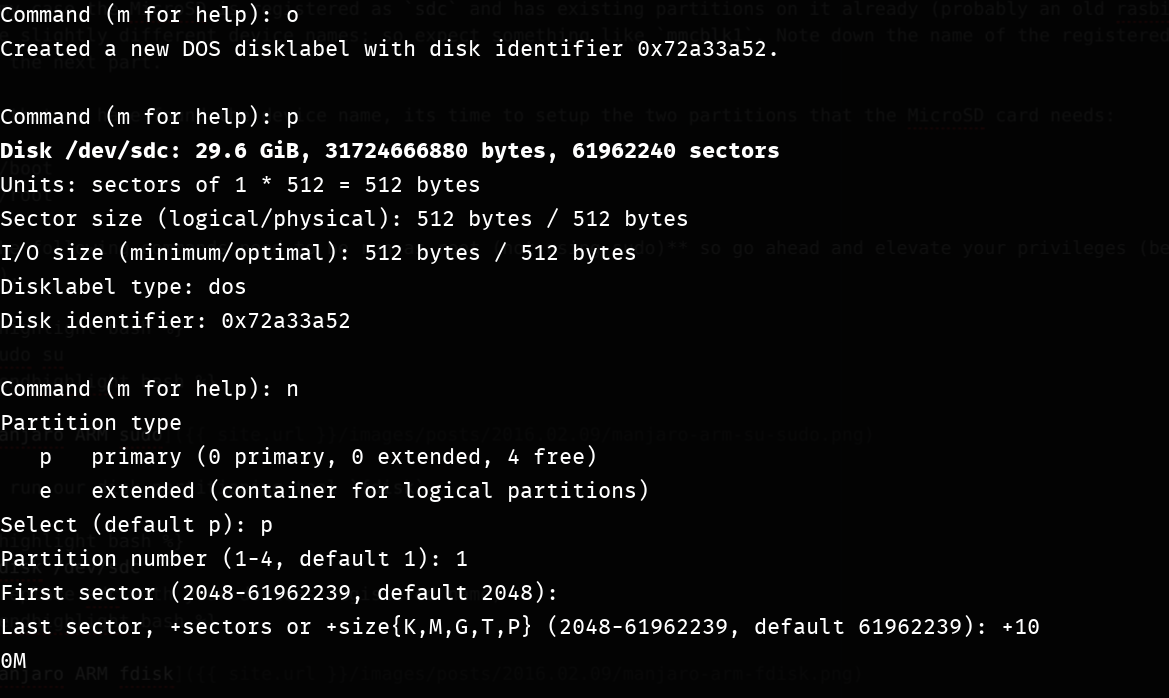
type 'o' to clear the partition table
type 'p' to ensure there is no partition listed
type 'n' to create a new partition
type 'p' to select primary partition
type '1' to make it partition one
press enter to set the default first sector
type '+100M' to make the partition 100 MBytes
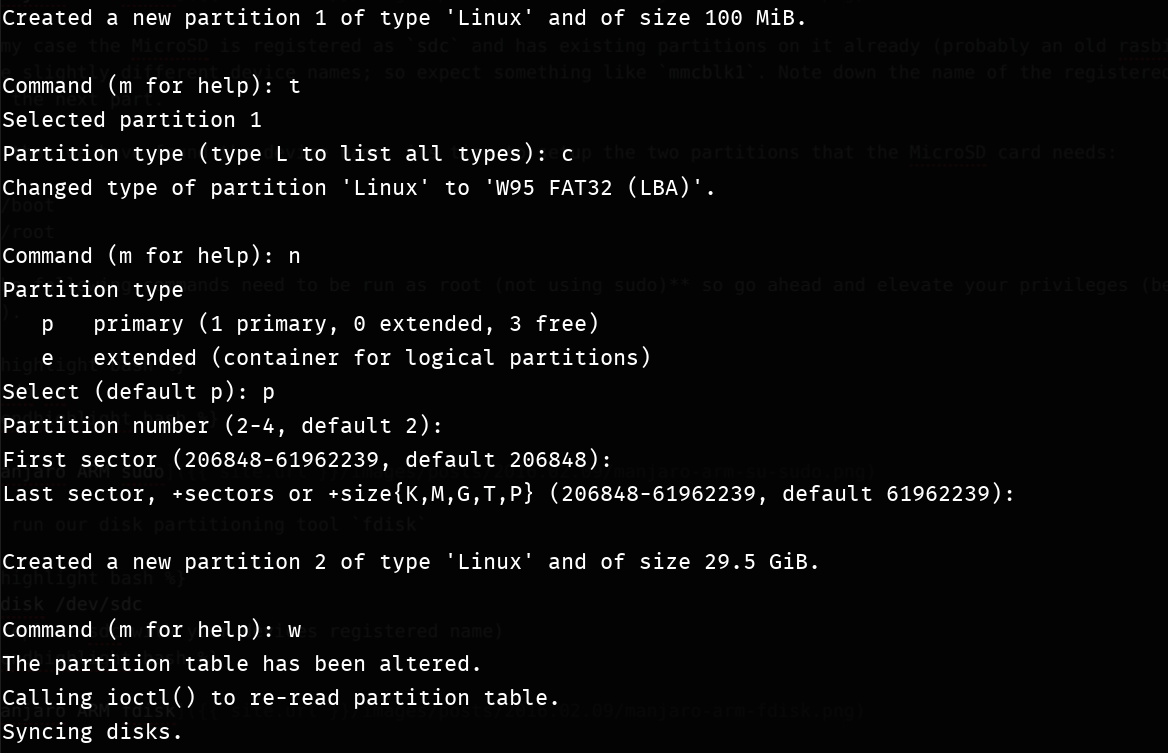
type 't' and then 'c' to change the partition type to W95 FAT32
type 'n' then 'p' to create a new primary partition
press enter to select the default partition 2
press enter twice to select the default start and end sectors (it will take up the space left on the device)
type 'w' to write the partition table and exitYour output should look similar to the following:
Making the Filesystems
Now that the partitions are created on the device, we need to construct filesystems on them to hold the data. These commands will also need to be done as root (not using sudo).
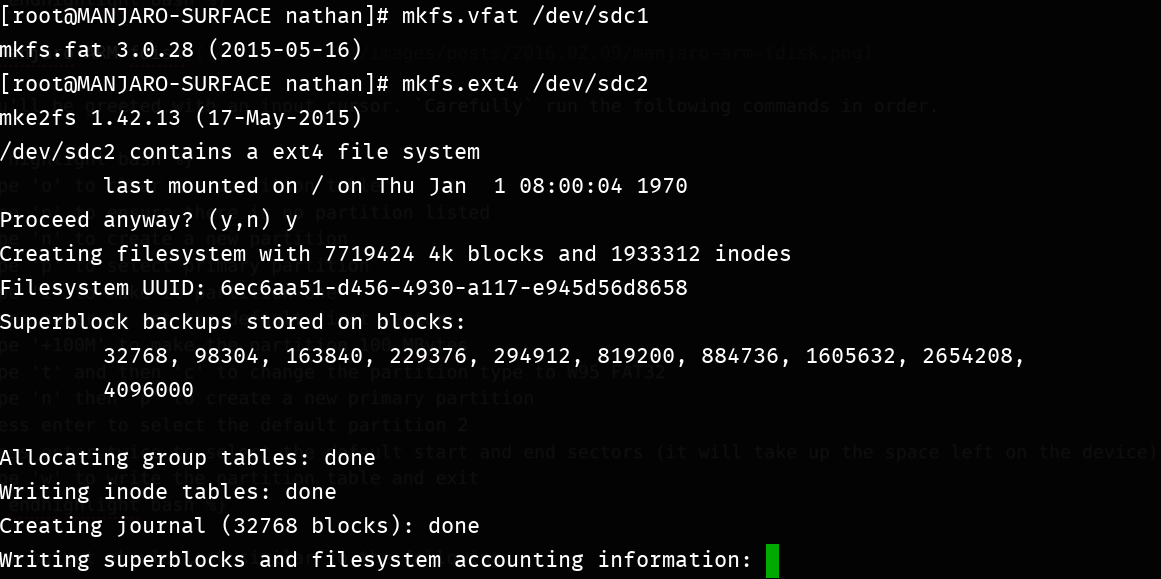
# mkfs.vfat /dev/sdc1
(replace sdc with device name, the 1 stands for partition 1 [the 100MB partition we made for /boot])
# mkfs.ext4 /dev/sdc2
(replace sdc with device name, the 2 stands for partition 2 [the / or root partition we will be using])
You might be prompted to erase a current file system, just y the prompt. Your output again will look similar to the following:
Now we just have to mount the filesystems. This is done with the following commands:
Be careful you are doing the following step in your home directory and ensure you don’t include any / before boot or root
# mount /dev/sdc1 boot
# mount /dev/sdc2 root
(change the `sdc` to the device name for your card)
Use the BSD tar command to extract the tarball to the root/ (sdc2)
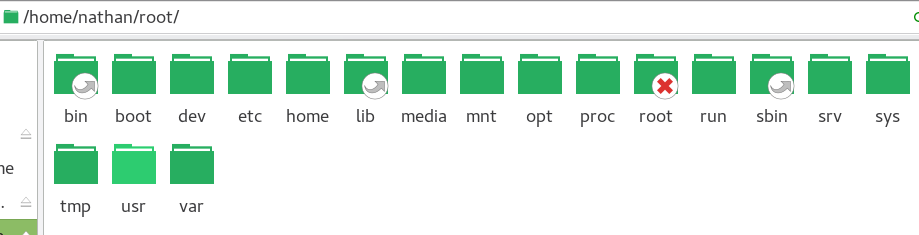
# bsdtar -xpf Manjaro-Arm_Base_16.01-alpha1.tar.gz -C root/
(replace the tarball name with your chosen build)
This part will take some but once it completes you should see the populated filesystem under the root folder in your home directory
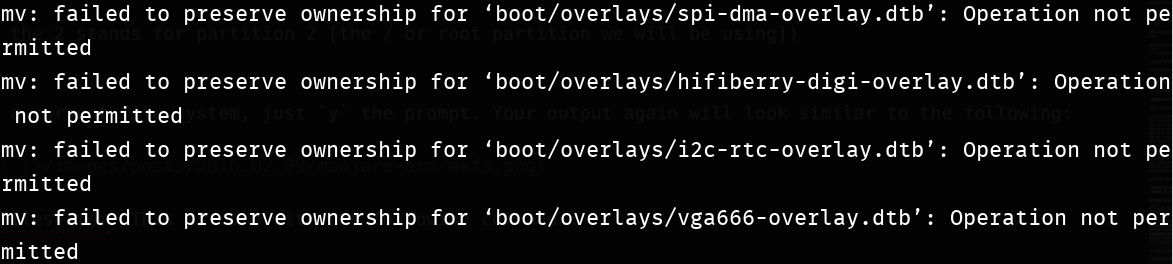
After the Tarball is extracted, we need to move the boot files over to the boot partition. This can be done easily with the following:
# mv root/boot/* boot/
(be careful with the `/`)
NOTE: You might get errors similar to the following regarding failure to preserve ownership. Don’t worry about it too much, the process still works regardless.
Finally just unmount the sdcard and you’re good to remove it from the system
# umount boot/ root/
# exit <to return to standard user>
Using the System
Plug the MicroSD into your Raspberry Pi 2 and boot it up! If you used the headless build you can login to your system over ssh
$ ssh manjaro@<ip>
(password is manjaro)
or as root
$ ssh root@<ip>
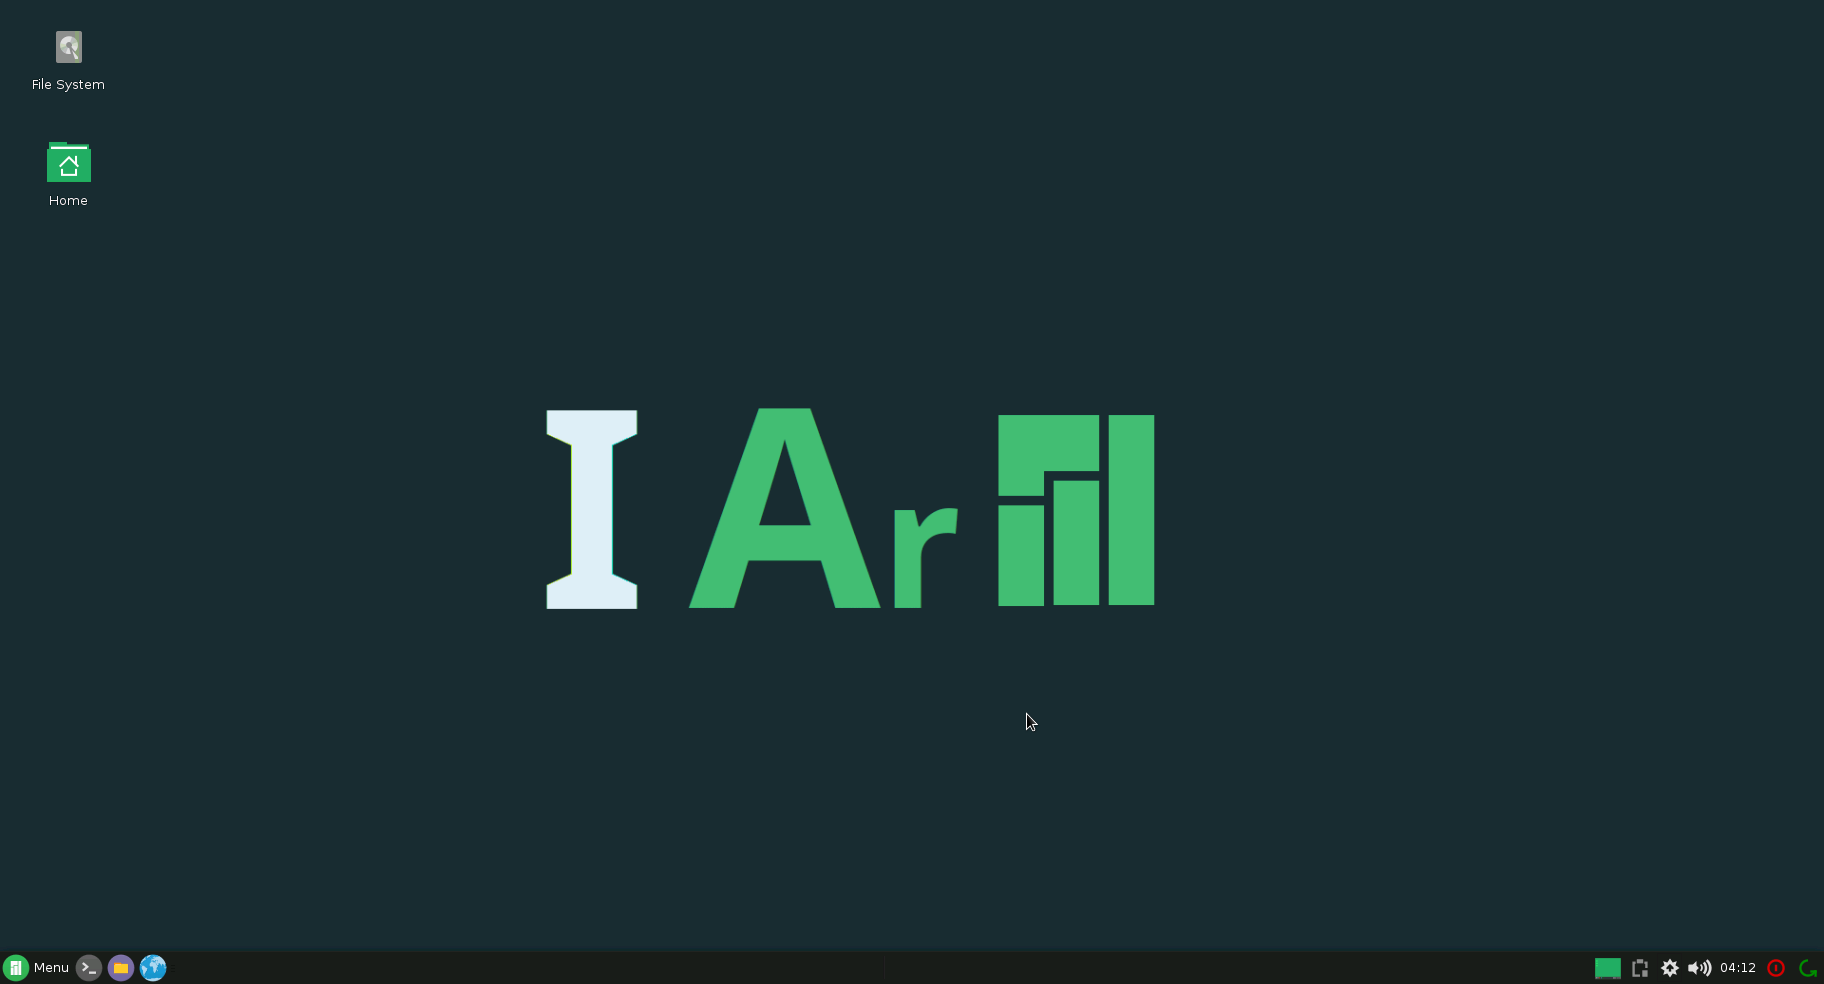
(password is root)If you opted for the full build the system will automatically log you in as the manjaro user account
Conclusion
I love Manajaro for x86, and the ARM version is just as lovable! I would highly recommend it to anyone looking at moving away from the standard distributions available for the Raspberry Pi. Not only is it a good introduction to Arch, but it can utilize AUR for updates so you’ve got a good foundation for binary and application build support.